Tuning and Readying the OKO D-Slide
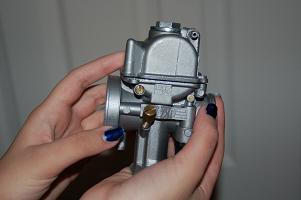
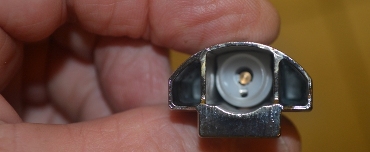
Before mounting and tuning your OKO Carburetor it will help to familiarize yourself with the carburetor. Below are some photos of removing the float bowl, setting the float level, and fixing your throttle cable to the slide. Notice that all genuine OKOs have four bolt holes on the base of the body for mounting the clear float bowl. If your carburetor only has the two for mounting the metal bowl, you have a Chinese copy.
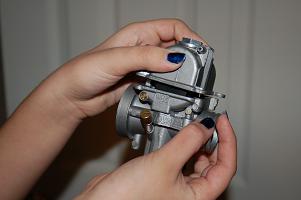
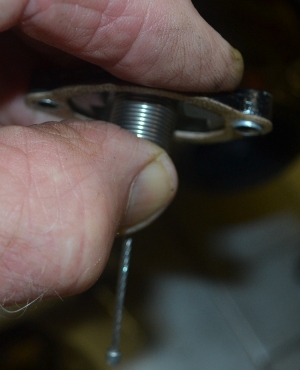
After removing the screws that attach the bowl to the carb body, lift the bowl up just a little, and then angle it towards you as shown in the photo above. It will then easily lift off. To reattach it, again tilt it towards you, making sure the overflow pipe in the bowl misses the float, then make it even with the body. It should "fall" into place nicely. Make sure the idle and air screws face you when tilting the bowl.
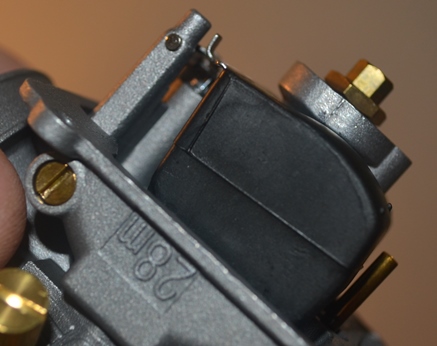
Removing and Replacing the Float Bowl
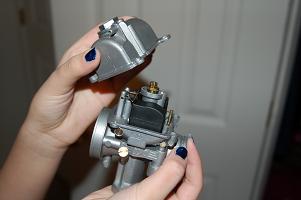
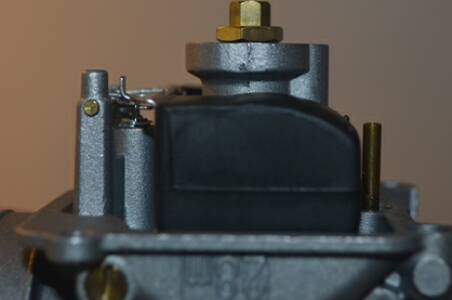
Checking and Setting the Float Level
The float level must be set correctly or the engine may be starved for fuel or may flood the motor, especially if the bike is laid over. The photo on the left shows how the float should look when the carb is angled so that the float needle is just touching tang on the float bracket. Once turned completely upside down, the line on the float should be parallel or almost parallel to the carburetor body. If past parallel you have gone too far.
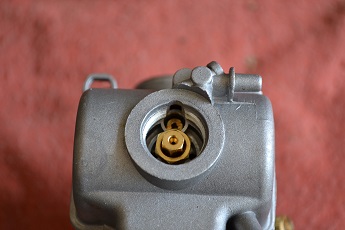
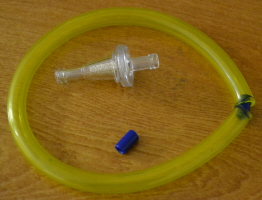
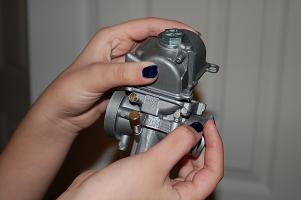
Photo shows access to the main and pilot jets with the drain plug removed. We file the bowl to gain access to the pilot jet without removing the bowl. We can do this for you upon request.
We use Tygon fuel hose and Visu filters. The Tygon resists hardening for some time and it and the Visu filter are see through so we know when fuel is flowing.
We highly recommend using a good quality fuel filter. Not only can you see when fuel is flowing, but more important, it catches small debris that your petcock filter may miss. Dirt can get lodged on the float needle and cause flooding, or if it gets into the bowl it can end up in the pilot or main jet.
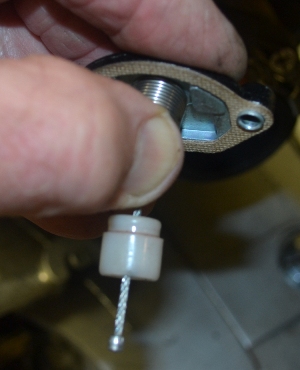
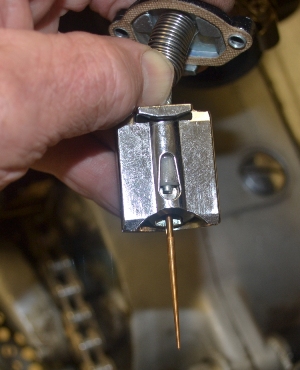
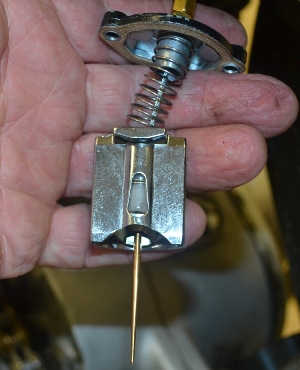
Attaching the Throttle Cable to the Slide
To attach the throttle cable to the slide, put the end with the small ferule through the top and compress the spring into the bottom of the top. Add the plastic needle holder with the small end up and the flatter portion away from you. Now insert the cable end into the detent in the flat side of the slide. Release the spring and the needle holder should cover the ferule, locking the cable in place. Below, the photo shows the positioning of the needle holder in the slide. If put in backwards, it will not hold the cable in place.
With the carburetor in place and the petcock on, make sure fuel is flowing into and filling the bowl. Now it's time to tune. First, pull up the choke knob until it clicks into place. Now it will hold full choke. Give the kickstarter a few kicks or hit the start button a couple of times. The engine should fire to life if the jetting is at least close. If the engine does not fire after a few kicks, remove the spark plug to see if the insulator is wet or dry. If dry, turn the air screw in about half a turn and try starting again. If wet, turn the air screw out half a turn or more and see if that makes the difference. Once running, turn the idle screw (The one angled up with the exposed spring) in or out to obtain an idle that's not too fast or slow. Now adjust the air screw in and out to find the highest idle. Now turn the idle screw for a nice idle and return to the air screw. You are looking for the sweet spot where the idle speed just starts to slow. This is an indication that the mixture is just beginning to get rich. Turn the air screw back out an eighth of a turn or even less to get back to the highest idle. Blip the throttle slightly. Engine speed should rise smoothly with no hesitation, four-stroking or bogging and return to idle quickly when the throttle is released. If needed, make small adjustments to the air screw until you eliminate the bogging, etc... Once the idle is set, you can move on to the needle. Ride the bike at just above idle and try a throttle opening of one quarter. This is where the needle comes into play. Run the engine at one quarter to half throttle. It should accelerate smoothly and return to idle quickly when the throttle is released. If it bogs or is slow to increase rpms, the needle is set to high and the clip needs to be raised to the next groove. If engine speed is slow to return to idle when the throttle is released, the needle is set too low and the clip needs to be lowered. Once the needle is set right, the engine will accelerate nicely and return to idle quickly. You can now move on to the main jet. As with other circuits, the main jet circuit will give similar symptoms when either rich or lean. Bogging or failure to rev out means the main jet is too large. If the engine lacks power or spits back either on the throttle or when releasing it, the main jet is too small. Hopefully, by now you have the carburetor nicely dialed in. If all circuits are dialed in but you have either a rich or lean spot just off of idle, that may mean that the carburetor is too large (lean spot) or too small (rich spot). If this happens, give me a call and I'll help you diagnose. If we have sent you the wrong size carburetor, we will exchange the size you have to the appropriate one. One note: Often the needle will need the provided shim placed under the clip. This raises the needle half a notch. So if you are running mid-range just a little lean, add the shim under the clip. If you are runnng a little rich, move the clip up a notch and add the shim. We understand that some people are better than others at determining when a carburetor is dialed in correctly. If you are struggling with tuning after using this guide (or the one sent with the carburetor), give me a call and I'll give you a hand. If you can't get it dialed in, I'm happy to have you send it back to me so I can check the carburetor, fix or replace it if needed.
Tuning the OKO D-Slide Carburetor